Trim Sizes for Picture Books
August 22, 2019 by Rachel
PUBLISHERS AND TRIM SIZE
Letterpress text and pre-separated art were on their way out, but in 1984 our office didn’t have a single computer. When I started my first job out of college as a children’s book production assistant, the way books were made was changing fast.
One change I was seeing firsthand involved trim sizes. The publisher had nurtured several successful series over the years. But within each series, the titles were printed with varying trim sizes and at different printers. The main character of one of those series was a curious ape. Although the author/illustrator had passed away a few years before, his creative partner and wife was still very much involved in continuing the series.
To afford to keep the series reprinting, the publisher needed to make the trim size consistent. The production director (my direct boss), the art director and the editor had to balance aesthetics and economy to figure out the best trim size for that series.
With trim size, part of the decision comes down to paper. Paper is expensive, so you want to waste as little as possible. The trim size and page count help determine the size of the sheet (or the width of the roll) the book will print on. A book with an 8.5”x 11” trim size needs a larger sheet of paper to print than an 8”x 8” book.
If you print on a sheet that is larger than the trim size requires, that extra paper you paid good money for is trimmed off and tossed (hopefully recycled nowadays).
The more paper you buy, the greater discount the paper merchant gives, and the less each individual sheet costs. If you buy paper for 100,000 copies of a certain trim size, each individual sheet will cost less than if you buy paper for only 10,000 copies.
To save additional expense, the publishing house would reprint several titles in the series at the same time. The more sheets you print, the greater discount the printer gives, and the less each individual printed sheet costs. So, the publishing house would try to “gang” titles together, often a new title in the series along with its reprint titles.
When I started working there, everything—paper, printing and binding–was manufactured in the United States. Years later, when I left (and computers had become plentiful in our office), more and more books were being printed and bound overseas. In those cases, the overseas printer took care of all the headaches of buying and storing paper: those same costs were of course included in their bottom line. Having standard trim sizes still saved money.
TRIM SIZE AND FORMAT
I bought this book about skyscrapers at a library book sale several years ago. I’m in awe of its trim size. It lives on the floor because it doesn’t fit any of my bookshelves. When I first bought it, I imagined the librarian pulling the book from the oversize books shelf, flipping through the pages, regarding its checkout record, balancing its heft in one hand before sighing and chucking it into the book sale carton.
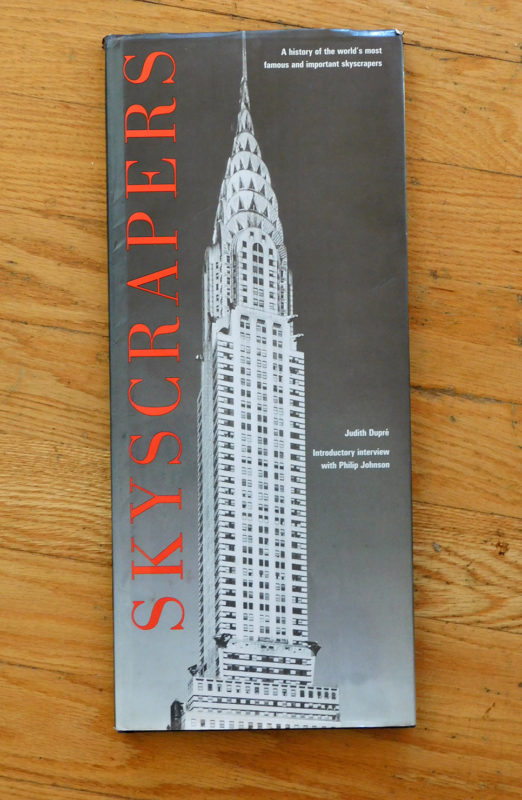
The thing is, this publisher chose the perfect format and trim size for a book on skyscrapers.
If a publisher acquires your manuscript, they will choose the trim size that best fits and best benefits your story idea. But first you need to sell them your idea, most likely submitting a loosely sketched dummy with two or three sample art pages (which the publisher will most probably ask you to redo eventually).
Trim size refers to the trimmed size of the block of pages, not the outside dimensions of the bound book. Different binding methods can change the outside measurements of a book.
The trim size of the bound pages will be the same for a paperback and a hardcover book, but the hardcover book will have larger outside dimensions because of the binders boards. A saddle stitched bound book will be wider than a perfect bound book of the same trim size.
Books come in three general formats: upright (vertically oriented), square, and landscape (horizontally oriented). Before you start work on your dummy, ask yourself which format fits your book the best. Don’t lose any sleep over this decision: the publisher will either second your intuition or ask that you change the format later.
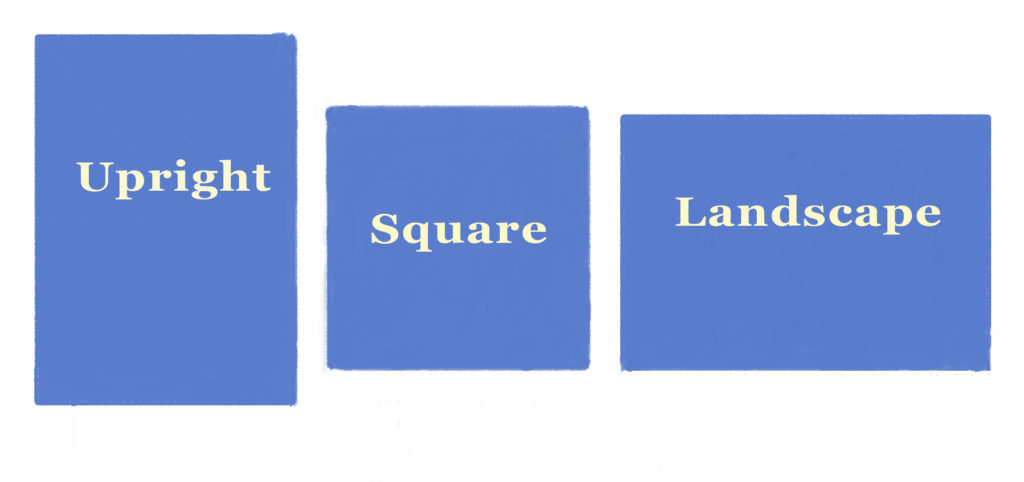
Imagine a toddler has these three books in front of her. Which spine would she be able to break the quickest?
The first number in the trim size is for the width of the book. The second number is the height. At this point, you don’t need to worry about the third dimension, the thickness of the book. (Spine width is determined by the number of pages, paper weight and paper finish. Later, when your book is being developed, the art director will guide you on the width of the spine of the jacket or paper cover.)
Pretend that you’ve chosen to make an 8” x 10” dummy.
If the trim size is 8” x 10” the book is upright. If the book is 10” x 8”, it’s landscape.
When you open an 8” x 10” book, a double spread will measure approximately 16” x 10.”
When you open a 10” x 8” book, a double page spread will measure approximately 20” x 8.”

PAPER AND DIGITAL DUMMIES
I’ll explain why those measurements of the double page spreads are approximate and how they relate to trim size a bit further down, when we get to the sample art pages you send along with your submission. But first, here’s a quick digression on dummies.
At this point, paper dummies are submitted less frequently than digital dummies. Any dummy should be paginated. The sketches should be loose yet clear enough to explain what’s happening in the story. It’s probably best not to go too wild with the type. At a convention I once heard an agent on a panel say she automatically rejects anything written in Comic Sans. Everyone in the ballroom laughed, but she was dead serious.
Paper Dummies
Although physical dummies are submitted less frequently than they once were, they are often welcomed at SCBWI conferences as part of their illustrator showcases.
Have your dummy photocopied onto either letter or legal paper, depending on the size and format you want to make your dummy. I usually use card stock because it gives a better feel to the dummy and is less likely to tear.
What matters most is the content of your dummy, not so much its presentation. Simply stapling the copied sheets together works well as long it’s done neatly.
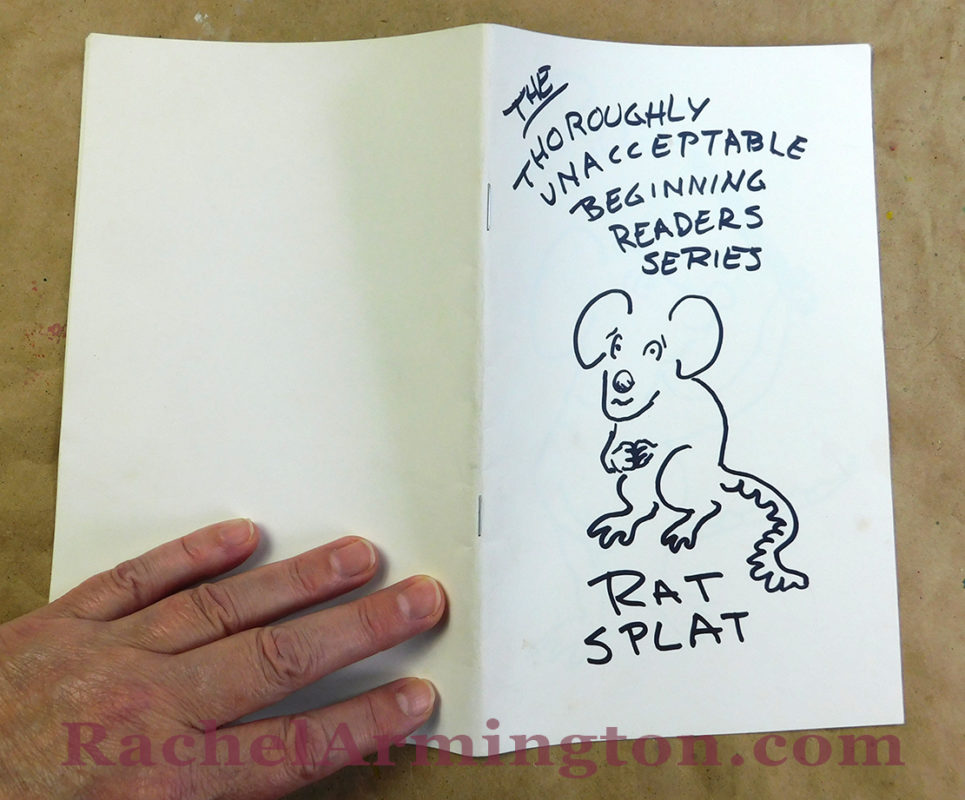
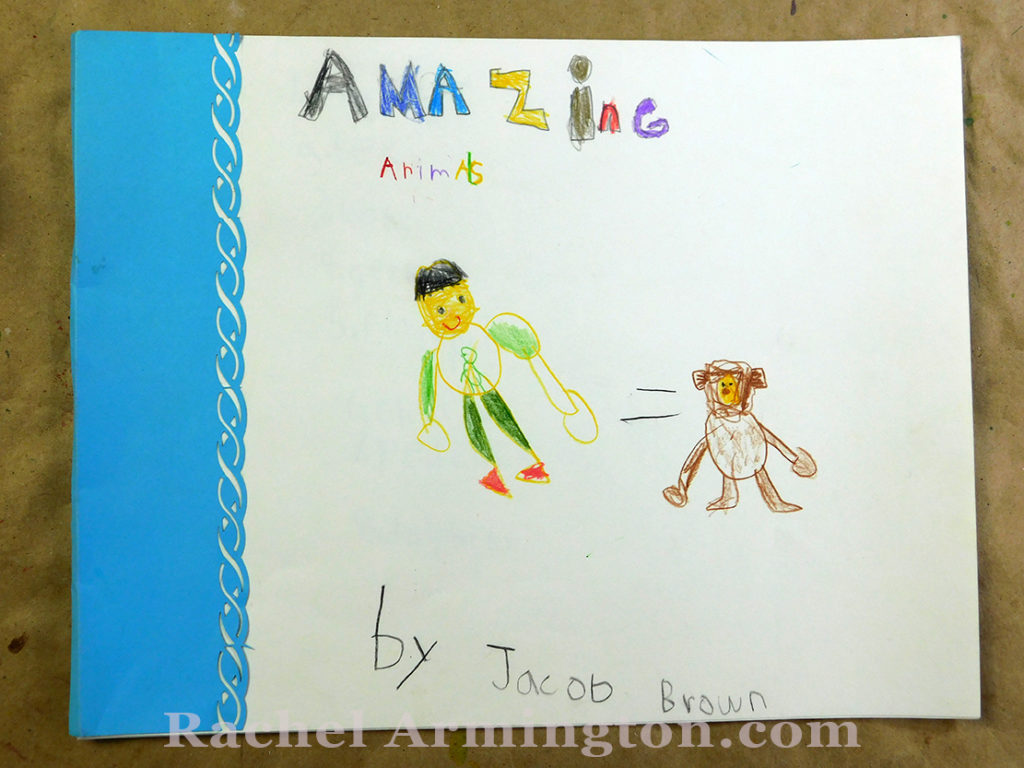
Just to share, here are some dummies from workshops I ran for kids.
Digital Dummies
At the publishing house, I only handled traditional artwork, mostly watercolors. Digital art was only becoming a thing a few years later, when I was working in advertising. But here are some basics that I’ve gleaned since then.
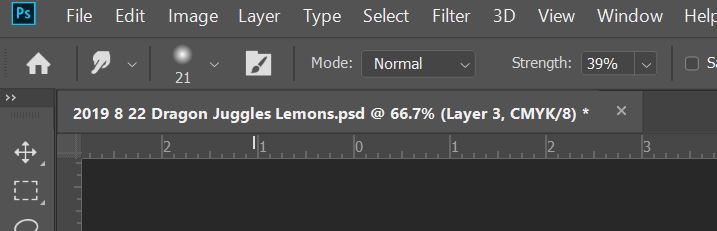
If you adapt anything as you develop your art, save it as a new file, even if you wind up with a long string of files. I add the date to the file name each time I work on something. Especially if you need to reduce the file size of a dummy to send it as an attachment, you want to have your original file saved.
Don’t save your working files in the JPEG (JPG) format. Even though JPEG the most used format, it compresses the images by losing data that can’t be retrieved. Choose a lossless compression file format instead (I personally use PNG).
If you ever need to email your dummy as an attachment, you can reduce the file and save it under a different file name.
Save as CMYK (the four color process inks–cyan, magenta, yellow and black—that printers use) so that you can print your dummy out in color later if you want. Your brightly lit monitor is RGB: the photocopied or printed image won’t match exactly.
Keep the resolution of your original work at least 300 ppi/pixels-per-inch.
SAMPLE ART PAGES
That’s the end of my digression on dummies. Now, let’s talk about the sample art to submit with your dummy.
The measurements of the double page spreads I mentioned above are approximate because another factor needs to be considered. Most modern books have at least some pages or spreads where the printed area extends beyond the edge of the page. These extended areas are called “bleeds,” and it’s up to the illustrator to include art in the bleed area even though it will be trimmed off. You need to allow 1/8” bleed all around to allow for trimming. One eighth inch bleed plus 1/8” bleed equals an additional ¼” added to the vertical and horizontal measurements.
Double page sample art with bleeds for an 8” x 10” book would measure 16-1/4” x 10-1/4”.
After you’ve taken the bleeds into account, you should also think about the “safe area” within the trim edges. Focus areas of the illustration (and the type) shouldn’t be placed too closely to the page edges. If your character is juggling three lemons and there’s some variance in the folding or trimming of the book as it’s bound, you may lose a lemon. Plan at least ¼’ all around within the trim size; the art director may ask for more.
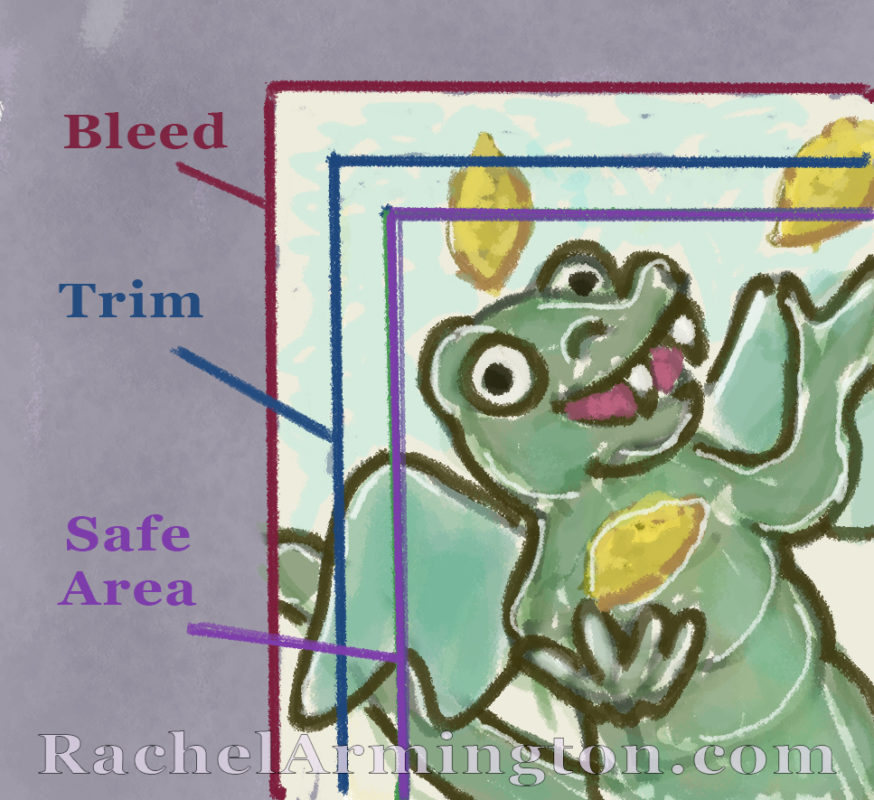
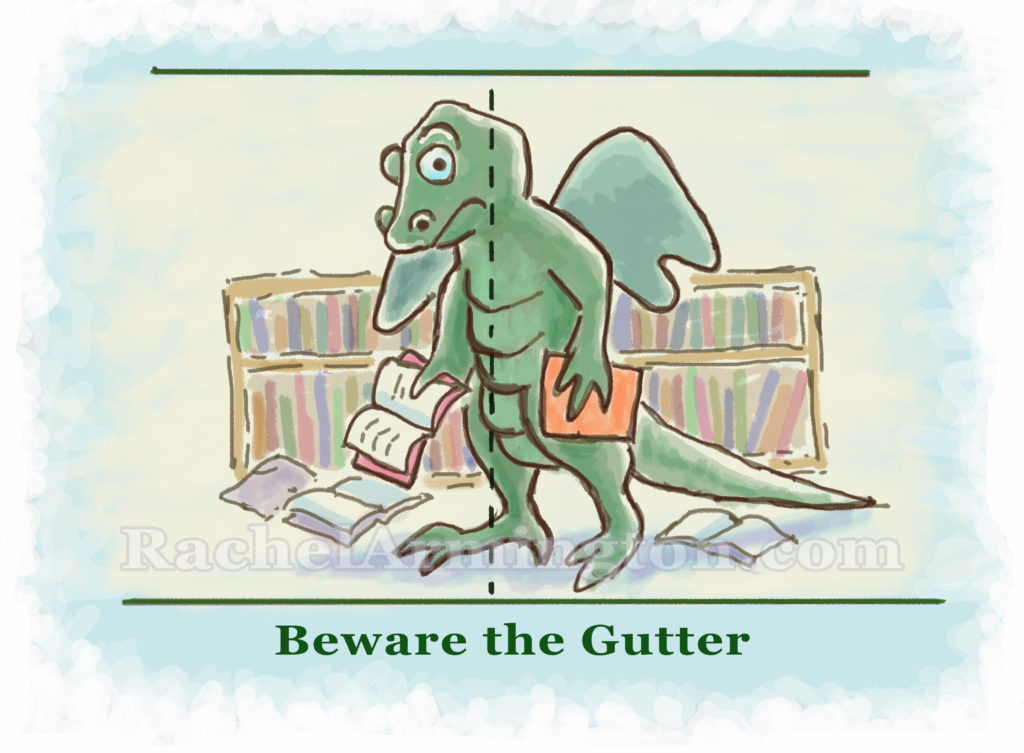
When composing double page spreads, you also need to be careful of what you place near the gutter, the area where the pages are bound together on the inside of a book . You don’t want anything visually important too close or in the gutter. Even with 32 page books, there may be “gutter loss” where the bound pages curve in to meet the spine. Books with higher page counts are even more prone to gutter loss.
It can’t be said often enough: If you are a traditional artist, never send original art unless your book has been signed and the publisher requests it.
In the 1980s, I often passed the very sad and dark Storage Room of Purgatory, filled with original art and photos people had submitted without including return postage or often without even a return address. Any unrequested original art that might get damaged or lost or stored in a sad, dark storage room is not the publisher’s responsibility.
HEDGING YOUR BETS
If you’re an illustrator for a traditional publisher, the publisher has the final decision on trim size. If you work traditionally, with physical media, the art director will specify what proportion you can enlarge your original art while still fitting the trim size (your physical art can’t be larger than the printer’s scanner). If you work digitally, the publishing house will give you the resolution they want along with the other specifications.
If you are confused or uncomfortable about anything, ask for clarification as often as you need.
The book buying market is smaller than it used to be. Traditional publishers only have the resources to accept a fraction of the flawlessly written, perfectly illustrated, well deserved books submitted to them every year.
What if you’ve submitted your dummy for a few years, and you still haven’t gotten a nibble from a traditional publisher? Or what if you’ve open to skipping the traditional publisher straightaway and want to control and publish your book yourself?
I’m not suggesting vanity presses. Vanity presses charge a lot of money to prepare, print and bind your book, but they aren’t invested in you or the worth of your message. I am pointing out that many authors—including Charles Dickens, Marcel Proust, Virginia Woolf, Mark Twain and Beatrix Potter—have self-published their work.
Not only did Beatrix Potter self-publish, she handled the designing and merchandizing of toys based on her characters.
Self-publishing takes a lot of planning, self-education and incredibly hard work. There are two printing methods, digital and offset.
Print on demand (POD) uses digital inkjet or laser presses that allow you to order small quantities, even a single book at a time. Depending on your experience and how much outside help you need, you can even release your book without spending any money (although I suggest paying for a proof before you release your title).
If you self-publish using offset presses–the same presses traditional publishers use–you’ll need to pay for the materials (paper, printing, and binding) and the storage and shipping the same way traditional publishers pay.
If you’re open to self-publishing or want to keep it in your back pocket just in case, it would make sense to look into the trim sizes offered by the various self-publishing companies. Because self-publishing companies handle purchasing and storing the paper, they may streamline the number of trim sizes they offer. Some companies offer either POD or offset printing, some companies offer both. Some only offer paperback binding, some both paperback and hardcover binding. The technology is getting better every day, so do your research.
I visited the websites of a few of the many self-publishing companies and made a table comparing the availability of certain trim sizes (as of August 2019). This is just an excerpt and each company manufactures many more trim sizes. I just wanted to suggest a way of comparing what different companies may offer. In no way am I recommending any of these companies.
| Trim Size | Mill City | Ingram Spark | Book Baby | Kindle Direct Publishing |
| 6” x 9” | MC | IS | BB | KDP |
| 6.5” x 6.5″ | IS | |||
| 7” x 10” | MC | IS | KDP | |
| 8” x 10” | MC | IS | KDP | |
| 8.5” x 8.5” | MC | IS | BB | KDP |
| 8.5” x 11” | MC | IS | BB | |
| 9” x 7” | BB | |||
| 9” x 12” | BB | |||
| 10” x 10” | BB | |||
| 11” x 8.5” | IS | BB |
One thing is certain. Even with so many trim size options in self publishing, printing and binding a book with custom printing and binding like Skyscrapers would be prohibitively expensive, and not available with POD printing.
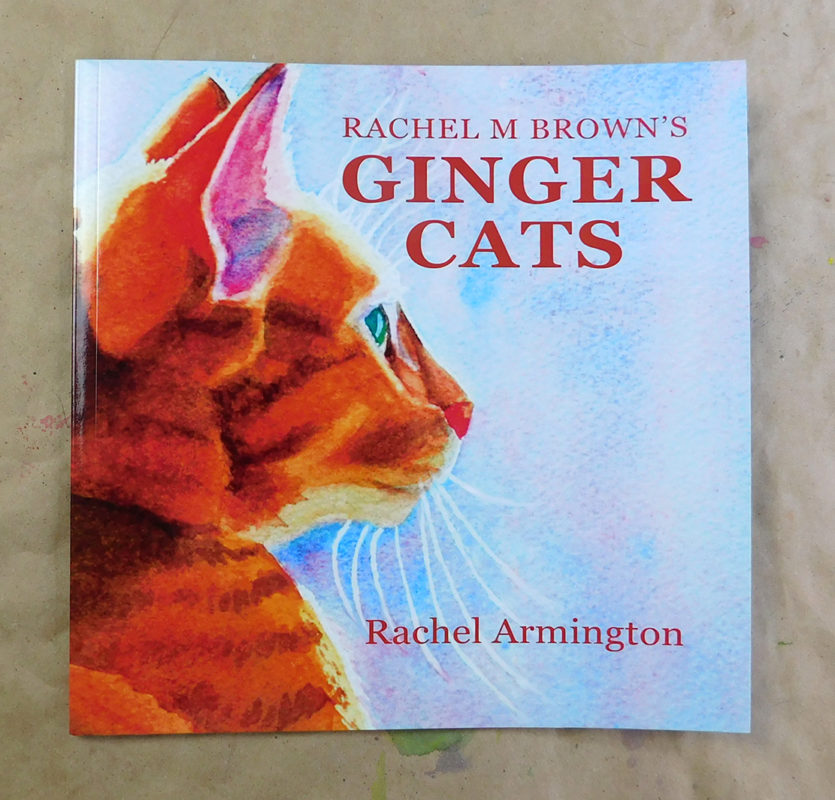
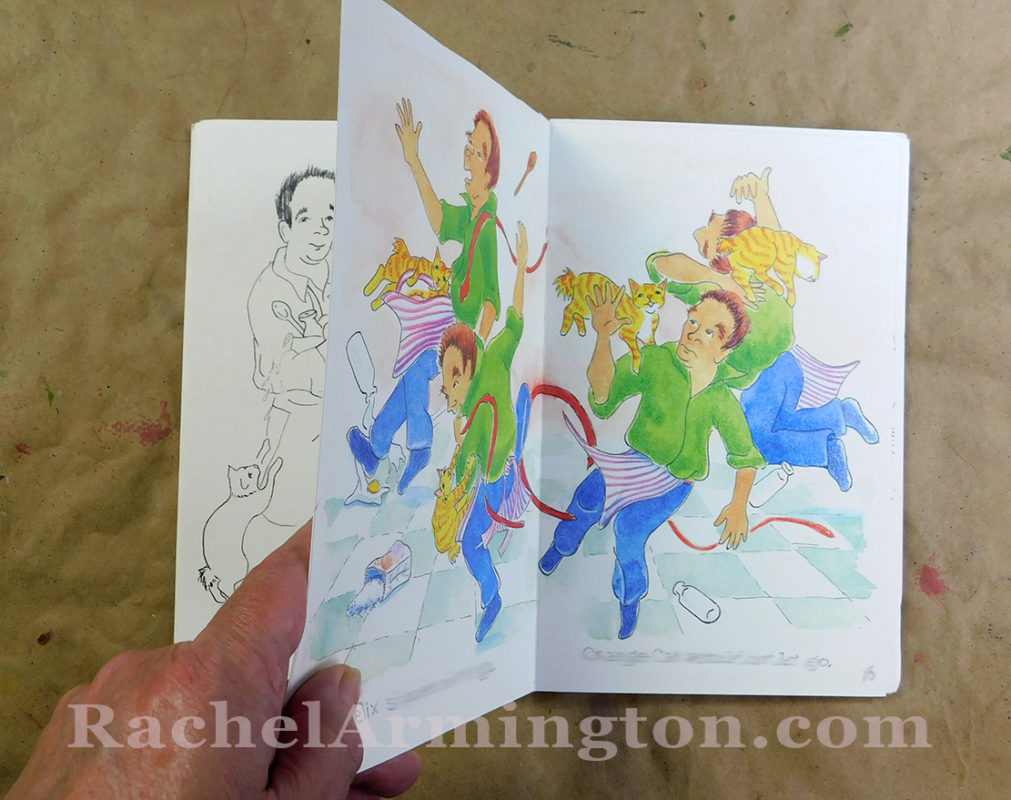
A few years ago, I self-published a paperback book of my paintings using POD technology. (You can see the inside of the book by playing the video below). Up to that point, I’d always written under my legal name and sold my paintings under my married name. Using two names had happened organically, but I’d gotten to the point where I knew I’d save time by promoting myself under one name. I had built up a good following for my cat paintings on Facebook, so I printed Ginger Cats under both names to iron out the matter before switching to using one name for my writing, painting and illustrating. (If you are wondering, I’m still very happily married: there’s no better man for me than my husband.)
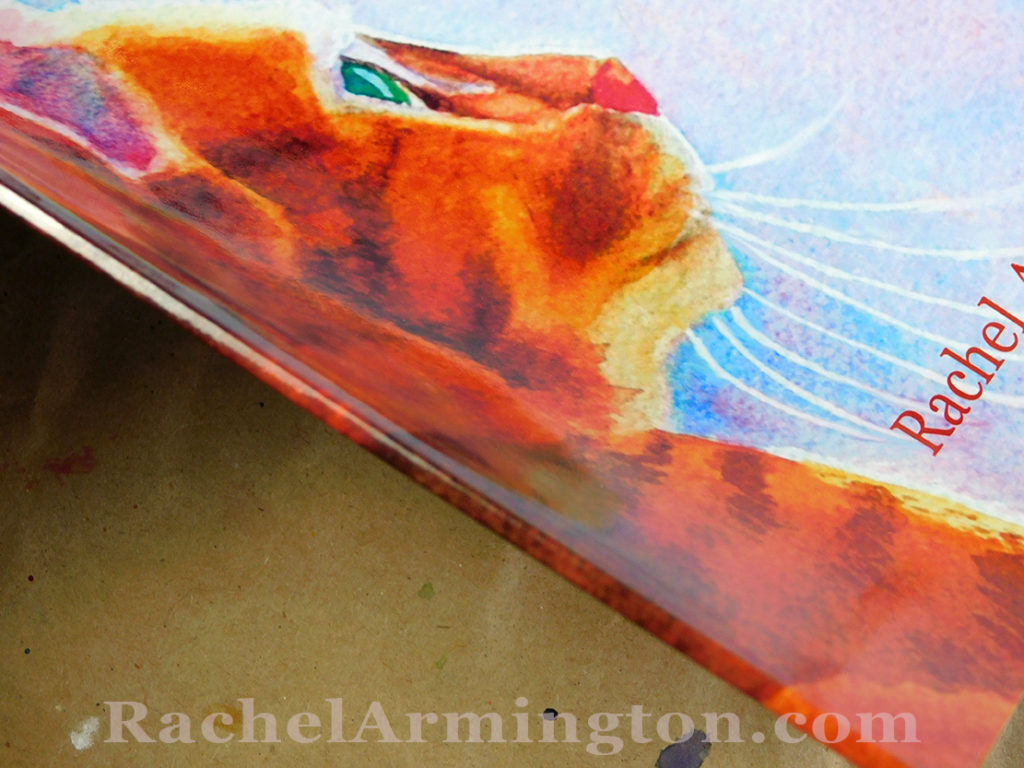
I’ve ordered copies a few times over the years. Truthfully, the copies vary a bit from order to order. With POD printing, you don’t get the potential luxury (and expense) of going on a press okay as you would with offset printing. The POD printer doesn’t store printed sheets that you’ve signed with your approval.
Even though I’m picky, and notice the color variation, it doesn’t bother me enough to turn me away from the possibility of self-publishing in the future. But if I do, I’ll have to be ready to take on all the jobs a publishing house handles for traditionally published authors.
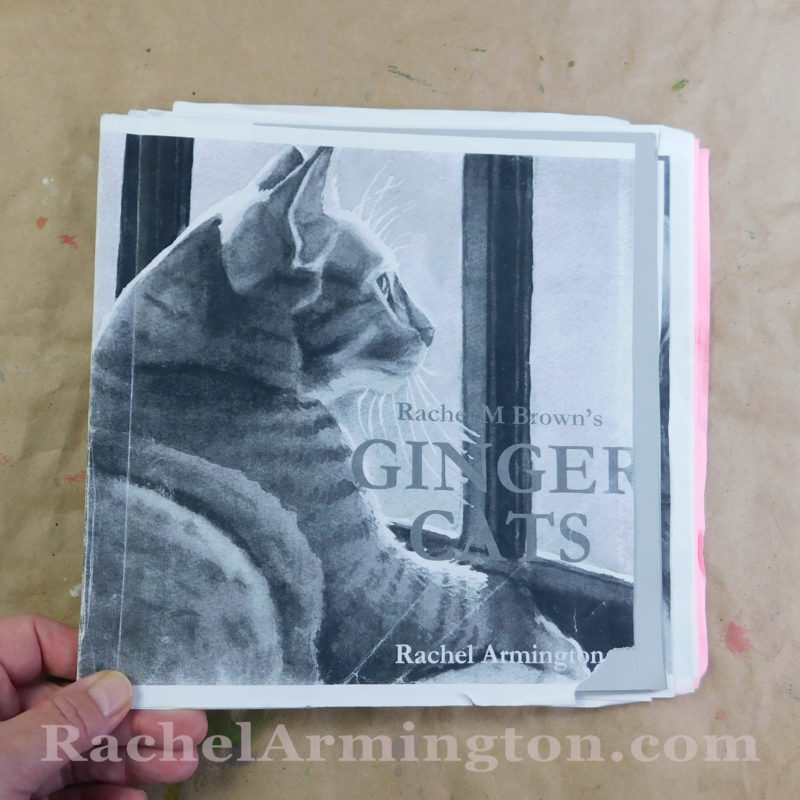
I used photocopies to dummy up Ginger Cats.
Please subscribe to Rachel’s YouTube Channel!